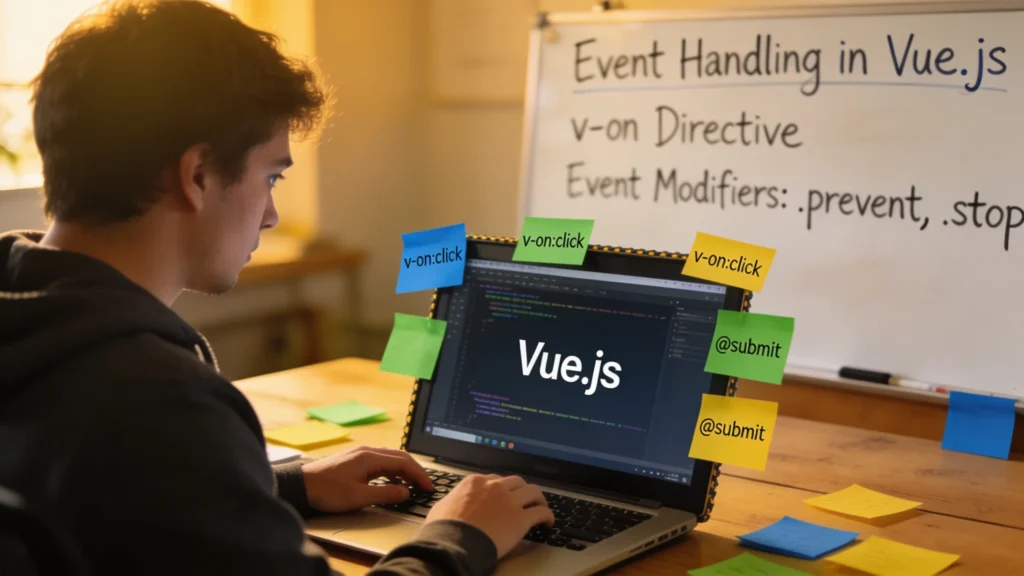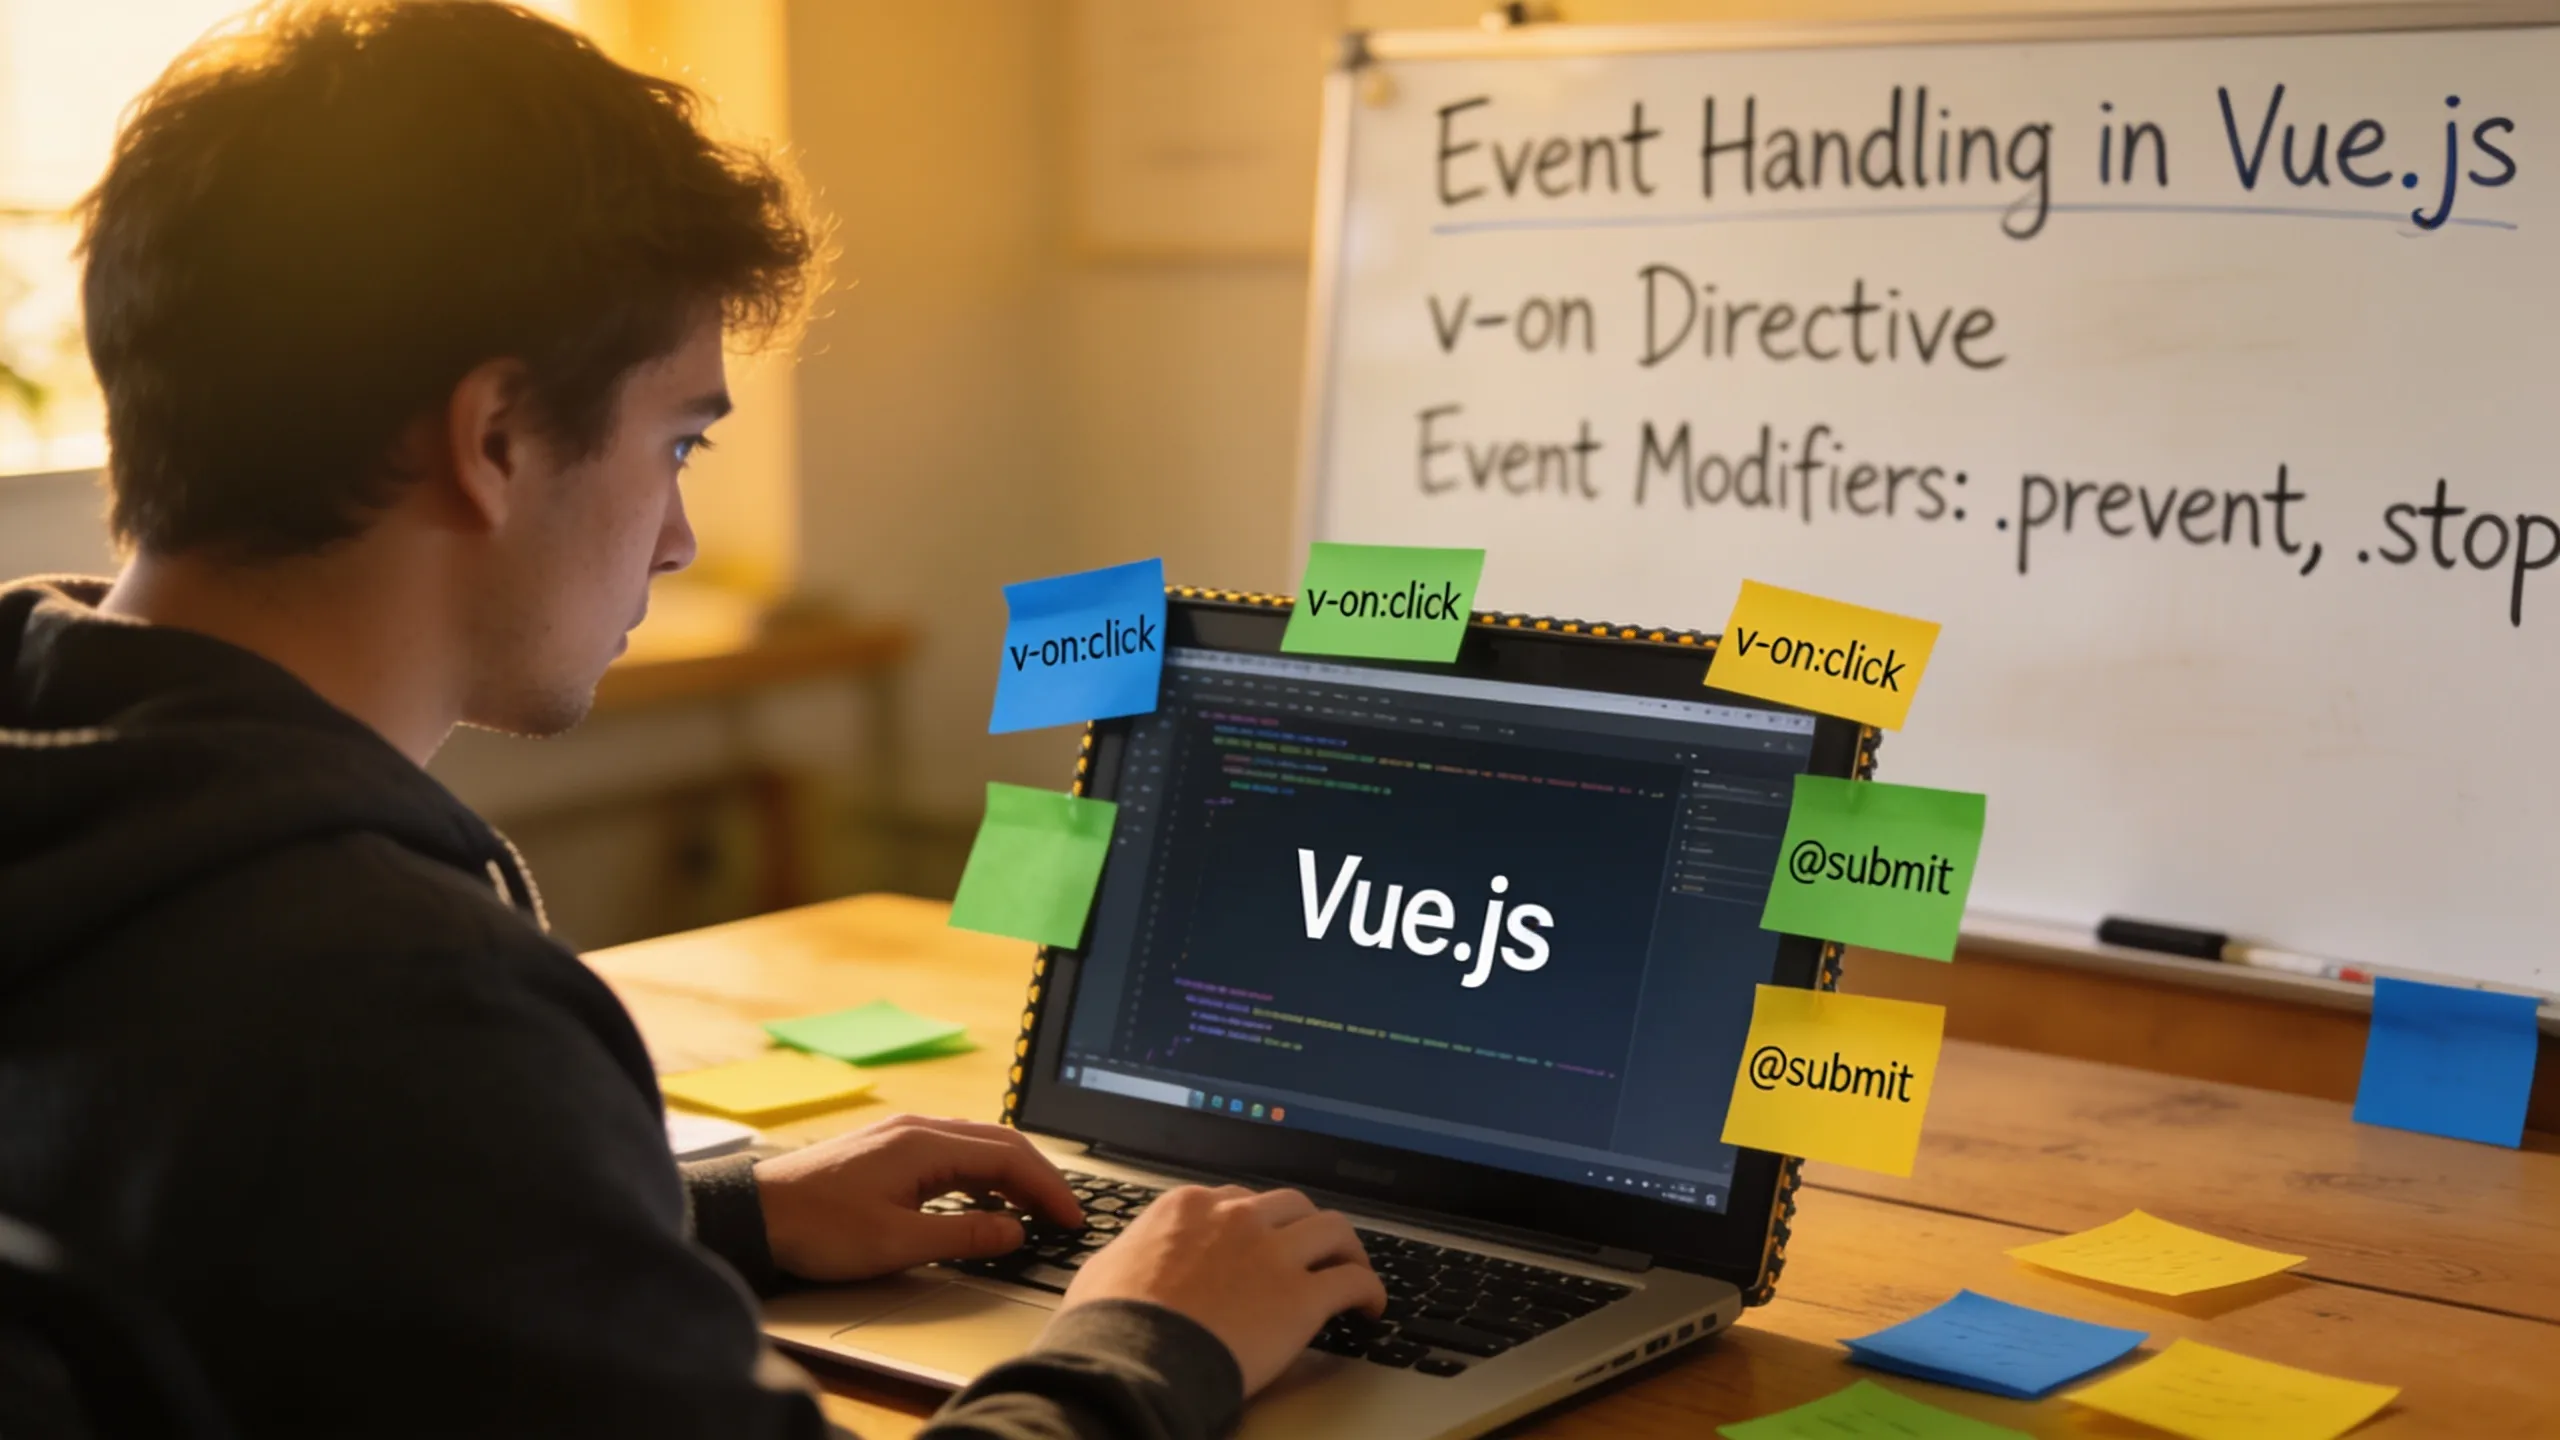
Vue’s event system is a fundamental aspect that empowers developers to create responsive and interactive applications. At its core, Vue uses a reactive data model, which means that when data changes, the UI updates automatically. Events play an important role in this interaction, allowing components to communicate and respond to user actions.
Vue provides several built-in directives for handling events, with the most common being @click, @input, and @submit. These directives simplify the process of binding event listeners to DOM elements, making it simpler to handle user interactions.
export default {
methods: {
handleClick() {
console.log('Button clicked!');
}
}
}
In addition to the built-in event handling, Vue also allows for the creation of custom events. This is particularly useful when building reusable components that need to communicate with their parent components. The $emit method is used to dispatch events from child to parent components.
export default {
  methods: {
    handleCustomEvent(data) {
      console.log('Custom event received with data:', data);
    }
  }
}
When defining a custom event in a child component, you can use the $emit method to trigger it, passing any relevant data as arguments. This provides a clean and decoupled way to manage inter-component communication.
export default {
methods: {
sendEvent() {
this.$emit('custom-event', { message: 'Hello from child!' });
}
}
}
Understanding event propagation is also essential. Vue employs a system where events can bubble up through the component hierarchy, enabling parent components to listen for events emitted by their children. This can be managed using the stopPropagation method if needed, to prevent further propagation of the event.
For more complex applications, consider using Vue’s event bus pattern. This involves creating a centralized event hub that allows non-related components to communicate. While this can simplify event management in certain scenarios, it’s crucial to maintain a clear structure to avoid tightly coupled components.
import Vue from 'vue';
export const EventBus = new Vue();
Using the event bus, components can publish and subscribe to events without being directly related, but this method should be used judiciously to prevent potential confusion and maintenance challenges in larger applications.
Ultimately, mastering Vue’s event system enables developers to build dynamic user interfaces that respond fluidly to user interactions. With the right understanding of the event handling mechanisms, including custom events and event propagation, you can create structured and maintainable code that enhances user experience. As you delve deeper into Vue’s capabilities, consider how events can be used not just for basic interactions, but also for complex communication patterns within your applications. Exploring these nuances will lead to more efficient and powerful Vue applications.

Apple iPad 11-inch: A16 chip, 11-inch Model, Liquid Retina Display, 128GB, Wi-Fi 6, 12MP Front/12MP Back Camera, Touch ID, All-Day Battery Life — Blue
Now retrieving the price.
(as of July 26, 2026 05:45 GMT +00:00 - More infoProduct prices and availability are accurate as of the date/time indicated and are subject to change. Any price and availability information displayed on [relevant Amazon Site(s), as applicable] at the time of purchase will apply to the purchase of this product.)Implementing custom event handling techniques
When implementing custom event handling techniques in Vue, it’s essential to understand the lifecycle of events and how they can be harnessed for efficient communication between components. One approach is to define events in a way that maintains the integrity and clarity of your code, ensuring that the flow of data and events is logical and easy to follow.
Consider creating a custom event that not only triggers an action but also carries data, enhancing the interaction between components. The use of payloads in events can help encapsulate the context of the event, making it clearer what data is being passed and how it should be handled.
export default {
methods: {
triggerCustomEvent() {
this.$emit('my-event', { id: 42, name: 'Sample Event' });
}
}
}
In the above example, the child component emits an event called my-event with a payload containing an object. The parent component can then listen for this event and access the data provided by the child.
export default {
  methods: {
    handleMyEvent(payload) {
      console.log('Event received with payload:', payload);
    }
  }
}
Using event modifiers can also streamline event handling, allowing for more concise code. Modifiers like .stop and .prevent can be appended to event handlers to manage event propagation and default actions effectively.
export default {
data() {
return {
inputValue: ''
};
},
methods: {
submitForm() {
console.log('Form submitted with value:', this.inputValue);
}
}
}
In the example above, the .prevent modifier is used to prevent the default form submission behavior, allowing for custom handling of the input value. This technique can be particularly useful for forms where the default action is not desired.
For larger applications, consider implementing a more structured approach to event handling, such as using Vuex for state management. This can help centralize event-driven interactions and maintain a clear separation of concerns within your components.
import Vue from 'vue';
import Vuex from 'vuex';

Vue.use(Vuex);

export const store = new Vuex.Store({
  state: {
    eventData: null
  },
  mutations: {
    setEventData(state, payload) {
      state.eventData = payload;
    }
  }
});
By using Vuex, components can communicate through a centralized store, allowing for a more scalable and maintainable architecture in your application. This approach minimizes direct dependencies between components, fostering a cleaner codebase.
As you refine your custom event handling techniques, consider the balance between simplicity and complexity. Aim for clear, understandable patterns that facilitate communication without introducing unnecessary overhead. The goal is to create a responsive and interactive application while keeping the codebase manageable and maintainable.