Angular components form the backbone of any Angular application, encapsulating both logic and view in a cohesive unit. Each component is a self-contained piece of the user interface, which promotes reusability and maintainability. Components communicate with each other using input and output properties, making it essential to understand how these interactions are structured.
At the core of Angular component architecture is the concept of a template. The template is where you define the HTML that represents the view of your component. To create a component, you generally use the Angular CLI to scaffold it, which sets up the necessary files and folders.
ng generate component my-component
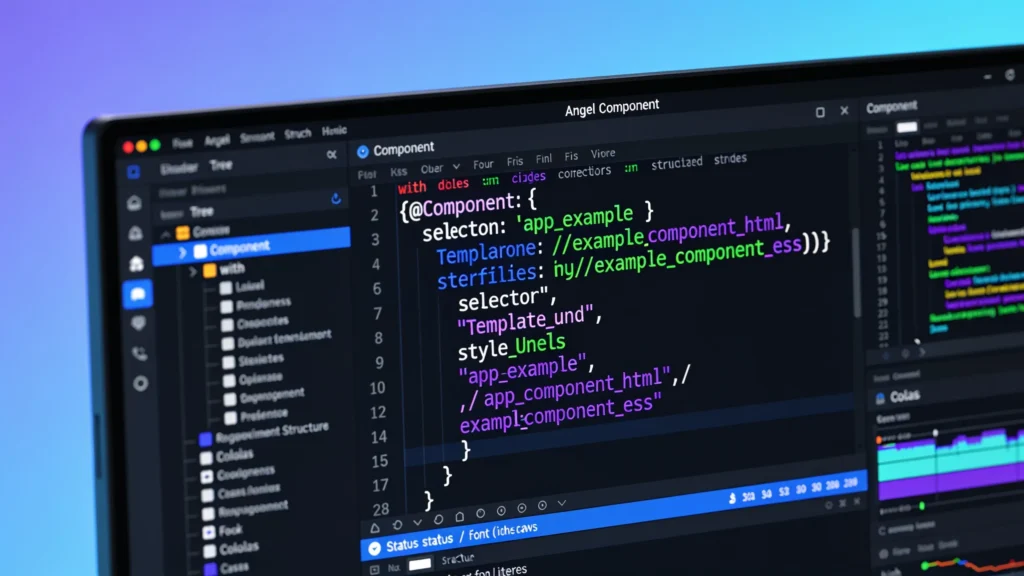
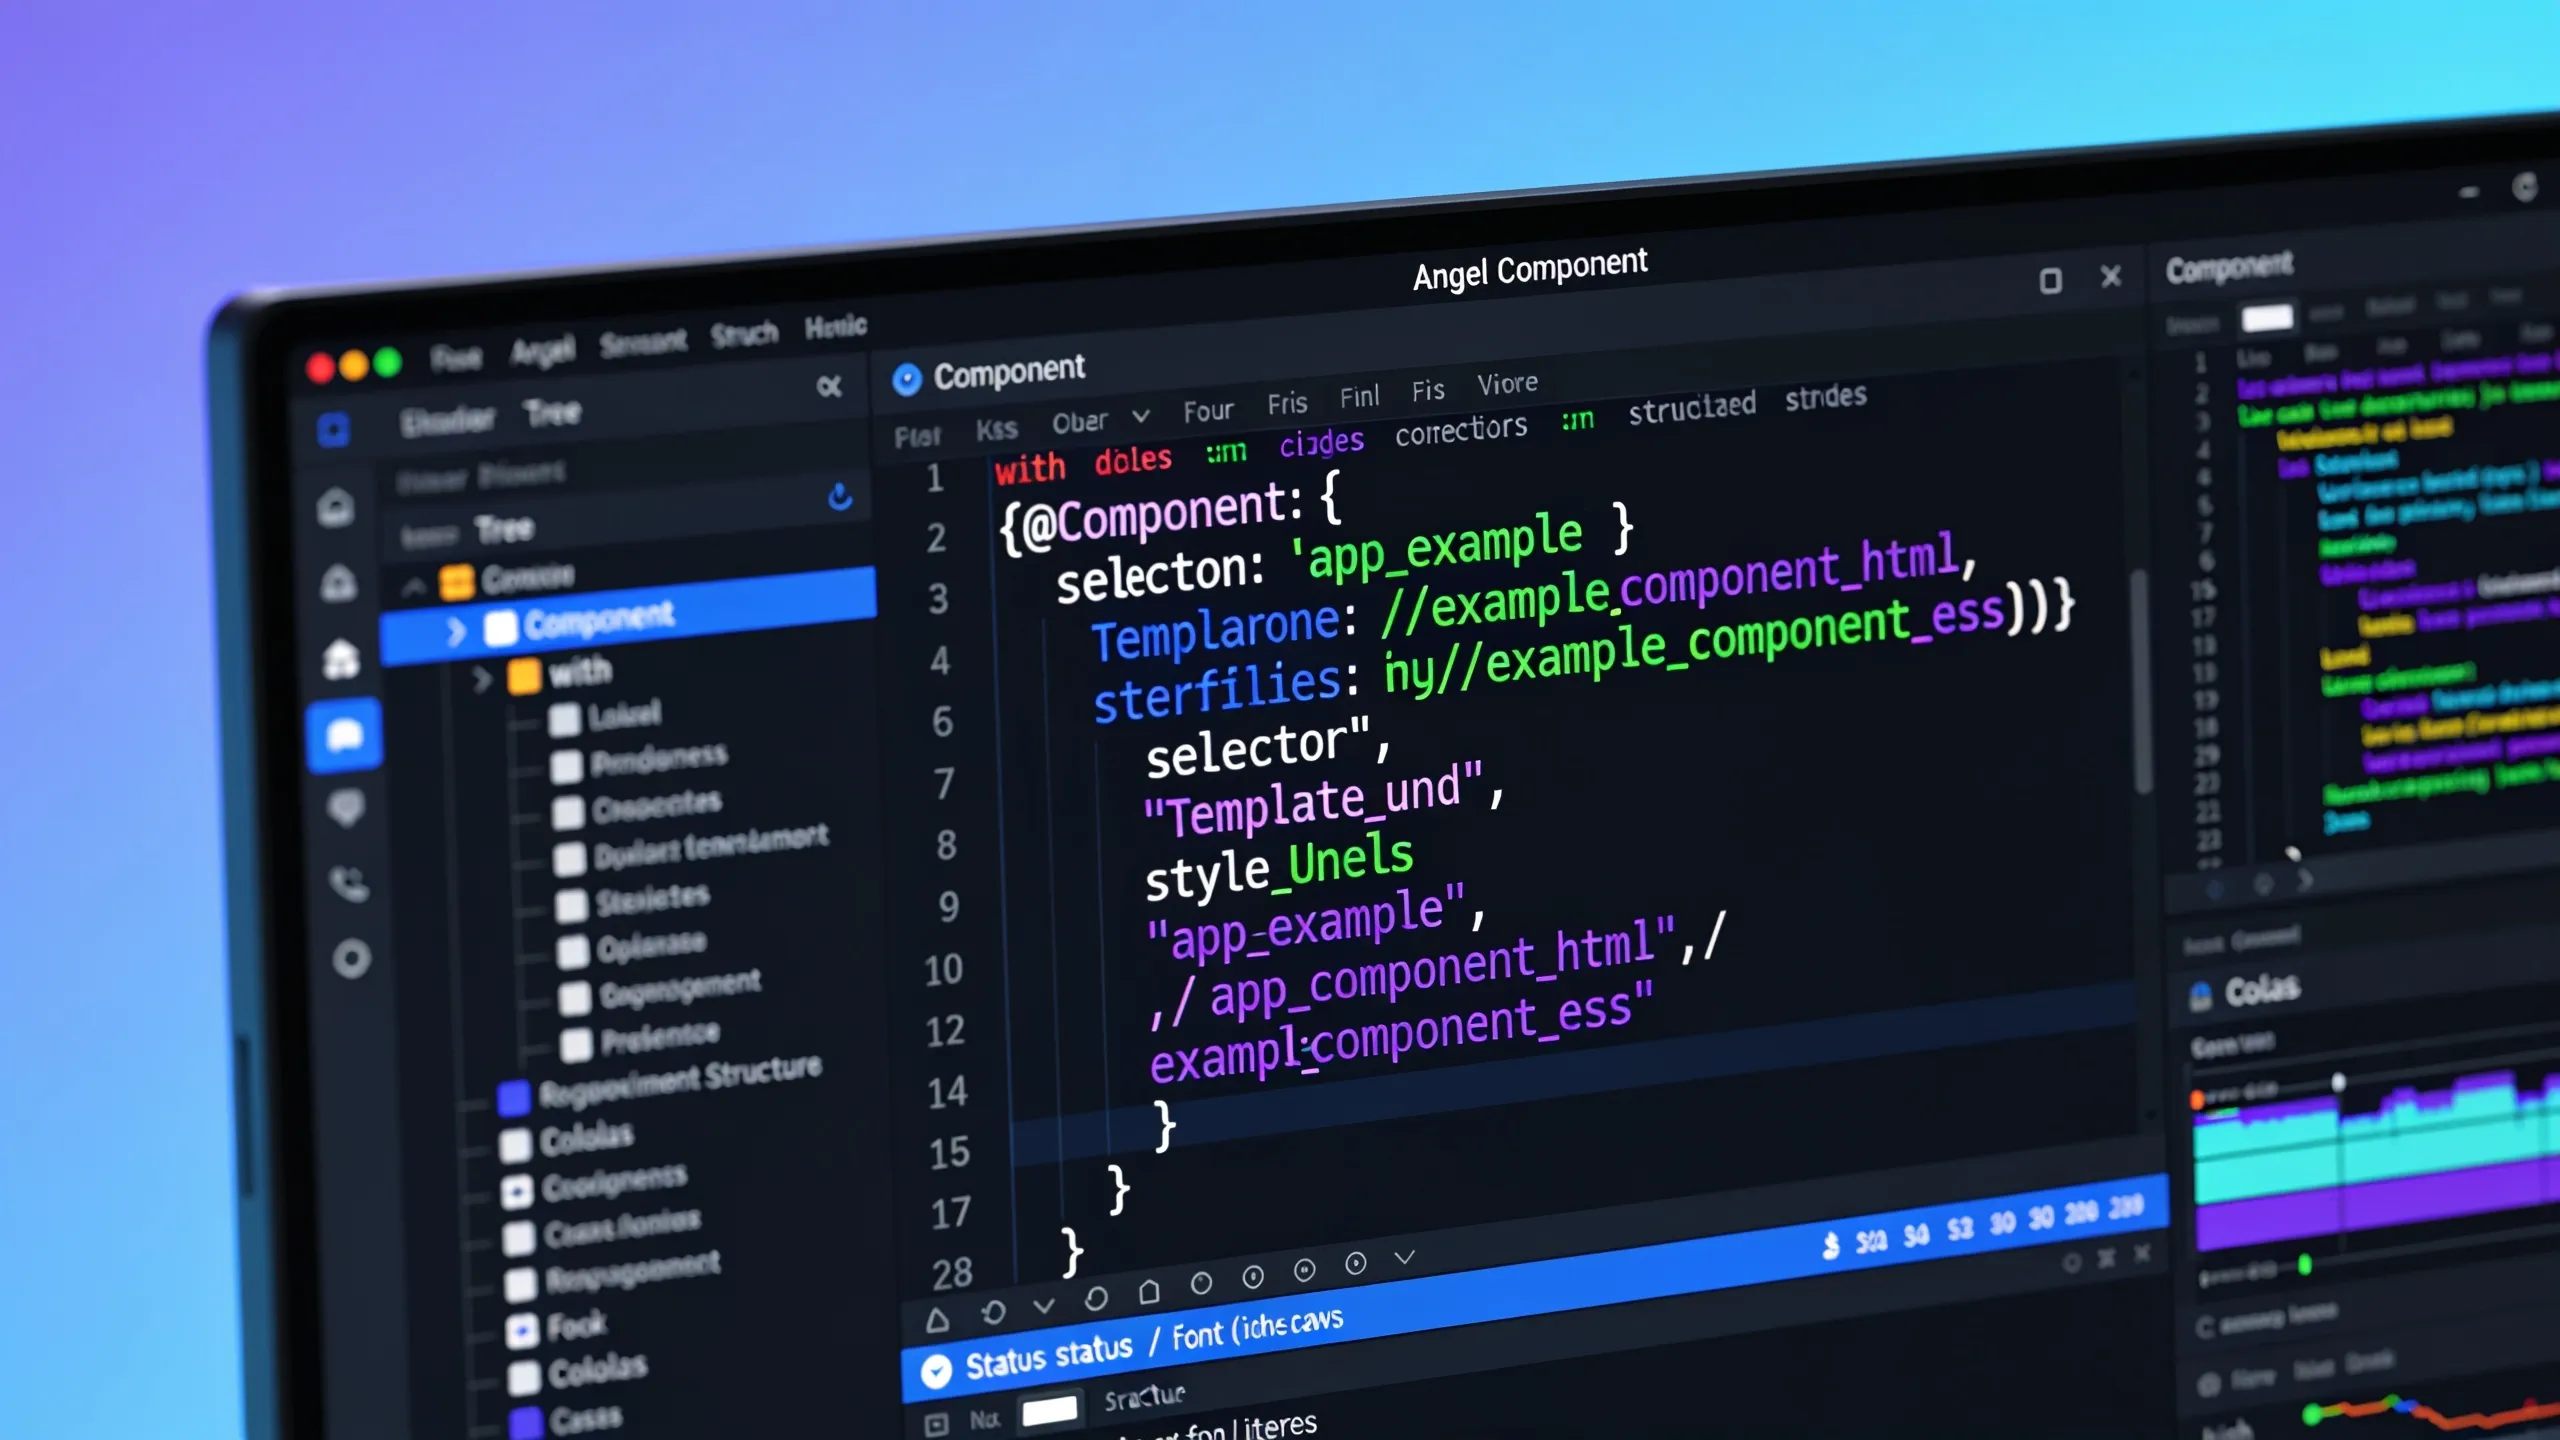
This command generates a new component with the associated TypeScript, HTML, and CSS files. In the generated component, you will notice a decorator called @Component which houses the metadata for the component. This metadata includes the selector, template URL, and style URLs, among other properties.
import { Component } from '@angular/core';

@Component({
  selector: 'app-my-component',
  templateUrl: './my-component.component.html',
  styleUrls: ['./my-component.component.css']
})
export class MyComponent {
  title = 'Hello, Angular!';
}
The selector property defines how the component will be represented in the template of a parent component. The template defines the view of the component, and the style URLs provide styling specific to that component. This separation of concerns helps in maintaining the application over time.
Another crucial aspect is the input and output properties, which allow data to flow between components. Input properties are used to pass data into a component, while output properties are used to emit events from a component. This two-way interaction is facilitated through Angular’s powerful binding syntax.
import { Component, Input, Output, EventEmitter } from '@angular/core';

@Component({
  selector: 'app-child',
  template:
    <h1>{{ title }}</h1>
    <button (click)="notify()">Notify Parent</button>

})
export class ChildComponent {
  @Input() title: string;
  @Output() notifyEvent = new EventEmitter();

  notify() {
    this.notifyEvent.emit();
  }
}
The example above illustrates how a child component can receive data via an input property and then emit an event when a user interacts with it. This event can be caught by a parent component, enabling dynamic interaction between components in your application.
Understanding how to structure components effectively, along with their metadata and communication strategies, sets the foundation for building scalable Angular applications. As you delve deeper, you will encounter more sophisticated patterns and practices. However, mastering the basics of component architecture is critical for…
Lerobo Compatible with Apple Watch Band 44mm 45mm Series 10 11 46mm 42mm 49mm Men Women,Soft Silicone Breathable Sport Band Compatible for Apple Watch Ultra SE 3 2 for iWatch Series 9 8 7 6 5 4 3 Black
$5.03 (as of July 11, 2026 03:15 GMT +00:00 - More infoProduct prices and availability are accurate as of the date/time indicated and are subject to change. Any price and availability information displayed on [relevant Amazon Site(s), as applicable] at the time of purchase will apply to the purchase of this product.)Defining component metadata effectively
the effective development of Angular applications. Another aspect to consider is how to manage component dependencies. Angular’s dependency injection system allows you to define services that can be injected into your components, promoting a clean separation of concerns and enhancing testability.
To create a service, you would typically use the Angular CLI as well:
ng generate service my-service
This command generates a service file that can be used to encapsulate business logic. Once the service is created, you can inject it into your component by declaring it in the constructor. Here’s how you can do that:
import { Component } from '@angular/core';
import { MyService } from './my-service.service';

@Component({
  selector: 'app-my-component',
  templateUrl: './my-component.component.html',
  styleUrls: ['./my-component.component.css']
})
export class MyComponent {
  constructor(private myService: MyService) {
    this.myService.doSomething();
  }
}
By injecting MyService into the component, you can access its methods and properties directly, which allows for a more modular and testable design. Furthermore, services can be provided at different levels, such as at the root level, module level, or component level, depending on the desired scope and lifecycle.
In addition to services, managing the lifecycle of a component is another essential aspect of Angular development. Angular provides a set of lifecycle hooks that allow you to tap into key events in a component’s lifecycle. These hooks include ngOnInit, ngOnChanges, and ngOnDestroy, among others.
import { Component, OnInit, OnDestroy } from '@angular/core';

@Component({
  selector: 'app-my-component',
  templateUrl: './my-component.component.html',
  styleUrls: ['./my-component.component.css']
})
export class MyComponent implements OnInit, OnDestroy {
  ngOnInit() {
    // Initialization logic here
  }

  ngOnDestroy() {
    // Cleanup logic here
  }
}
Using these lifecycle hooks effectively allows you to manage resources, subscribe to observables, and perform necessary cleanup, ensuring that your application functions slickly and competently. For instance, you might want to set up an observable subscription in ngOnInit and then unsubscribe in ngOnDestroy to prevent memory leaks.
As you continue to develop Angular applications, understanding the nuances of component metadata, dependency injection, and lifecycle management will empower you to create robust, maintainable code. Each of these elements plays an important role in the overall architecture of your Angular application, and mastering them will enhance your ability to build complex user interfaces that are both performant and effortless to handle.
As you explore further, consider how these principles apply to real-world scenarios, adapting them to suit the needs of your application and its users. This iterative process of learning and applying new knowledge is key to becoming a proficient Angular developer, ready to tackle the challenges of modern web development.
Managing component lifecycle hooks
Lifecycle hooks are integral to managing the behavior of components throughout their existence. Each hook corresponds to a specific moment in a component’s lifecycle, so that you can execute code at the right time. The most commonly used hooks include ngOnInit, ngOnChanges, ngOnDestroy, and ngDoCheck, each serving a distinct purpose.
For instance, ngOnInit is called after the component’s constructor and is a great place to perform initialization logic. This is where you might fetch data from a service to populate your component. Here’s an example:
import { Component, OnInit } from '@angular/core';
import { DataService } from './data.service';

@Component({
  selector: 'app-data-display',
  templateUrl: './data-display.component.html',
  styleUrls: ['./data-display.component.css']
})
export class DataDisplayComponent implements OnInit {
  data: any;

  constructor(private dataService: DataService) {}

  ngOnInit() {
    this.dataService.getData().subscribe(response => {
      this.data = response;
    });
  }
}
In this example, the DataDisplayComponent fetches data as soon as it is initialized. The subscription to getData() ensures that the component has the necessary data to display when it renders.
Another important lifecycle hook is ngOnChanges, which is triggered whenever any data-bound input properties change. That’s particularly useful for responding to changes in input values and updating the component accordingly.
import { Component, Input, OnChanges, SimpleChanges } from '@angular/core';

@Component({
  selector: 'app-change-tracker',
  template: <p>{{ message }}</p>
})
export class ChangeTrackerComponent implements OnChanges {
  @Input() inputValue: string;
  message: string;

  ngOnChanges(changes: SimpleChanges) {
    if (changes.inputValue) {
      this.message = Input changed to: ${changes.inputValue.currentValue};
    }
  }
}
In this scenario, ChangeTrackerComponent updates its message whenever inputValue changes, providing immediate feedback based on user interactions or data updates.
Finally, ngOnDestroy is critical for cleanup activities. It’s invoked just before Angular destroys the component, making it the perfect place to unsubscribe from observables or detach event handlers to prevent memory leaks.
import { Component, OnDestroy } from '@angular/core';
import { Subscription } from 'rxjs';
import { DataService } from './data.service';

@Component({
  selector: 'app-unsubscribe-example',
  templateUrl: './unsubscribe-example.component.html',
  styleUrls: ['./unsubscribe-example.component.css']
})
export class UnsubscribeExampleComponent implements OnDestroy {
  private subscription: Subscription;

  constructor(private dataService: DataService) {
    this.subscription = this.dataService.getData().subscribe();
  }

  ngOnDestroy() {
    this.subscription.unsubscribe();
  }
}
By unsubscribing in ngOnDestroy, the UnsubscribeExampleComponent ensures that it does not hold onto resources longer than necessary, thereby maintaining application performance.
Incorporating these lifecycle hooks into your Angular components not only enhances their functionality but also contributes to a more efficient and maintainable codebase. Each hook serves as a powerful tool, which will allow you to control the behavior of your components throughout their lifecycle, ensuring that your applications remain responsive and well-structured.