Getting an animated scene up and running with Three.js boils down to knowing the essential setup: a scene, a camera, a renderer, and at least one object. Don’t overcomplicate things right out of the gate. The beauty is in the simplicity.
First, you create a Scene. Think of it as your virtual stage where everything plays out. Then, you need a Camera to view the scene. A PerspectiveCamera is the most common choice because it mimics the way human eyes perceive depth.
Next, the WebGLRenderer takes care of drawing the scene on a canvas element. Setting it up properly means sizing it to the window and appending its output to your HTML.
Finally, no scene is complete without some mesh—a geometry combined with a material. The easiest starter is a spinning cube. Here’s how that looks in the rawest possible form:
const scene = new THREE.Scene();
const camera = new THREE.PerspectiveCamera(75, window.innerWidth / window.innerHeight, 0.1, 1000);
camera.position.z = 5;
const renderer = new THREE.WebGLRenderer();
renderer.setSize(window.innerWidth, window.innerHeight);
document.body.appendChild(renderer.domElement);
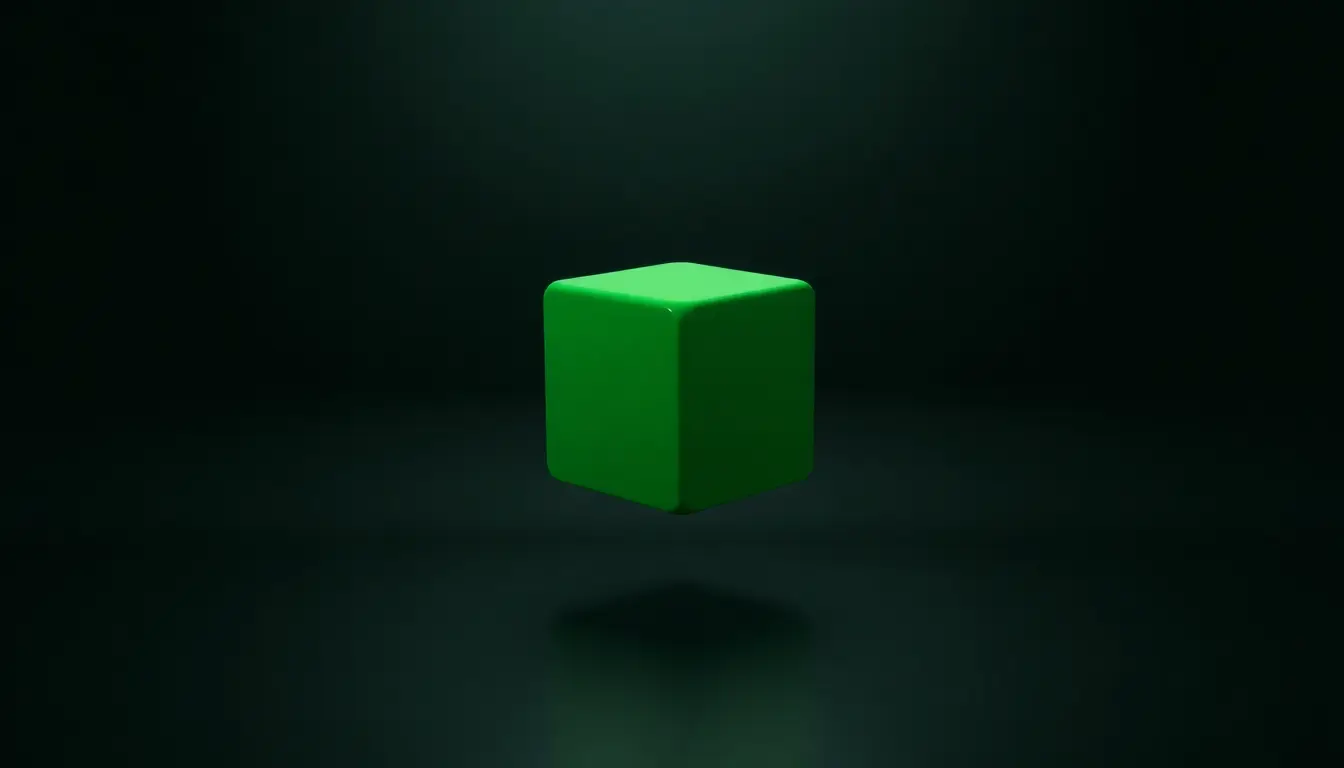
const geometry = new THREE.BoxGeometry();
const material = new THREE.MeshBasicMaterial({ color: 0x00ff00 });
const cube = new THREE.Mesh(geometry, material);
scene.add(cube);
That sets the stage, but the cube isn’t going to spin all by itself. You need animation, and that’s where the render loop comes in. But hold on, before getting there, make sure you address resizing: without this, your canvas won’t adapt to window resizes.
window.addEventListener('resize', () => {
  camera.aspect = window.innerWidth / window.innerHeight;
  camera.updateProjectionMatrix();

  renderer.setSize(window.innerWidth, window.innerHeight);
});
That’s your baseline setup. A scene, a camera, a renderer, a cube, and a resize handler. Now you have something visible where you can plug in rendering logic and animation updates.
Before we dive into the loop, remember to keep your animation fluid by syncing it with the display’s refresh rate instead of a setTimeout or setInterval. That is exactly what requestAnimationFrame was built for and Three.js thrives on it.
To summarize, here’s the import path you normally see at the top if you’re using modules (just so you aren’t lost if you copy-paste):
import * as THREE from 'three';
So far, you’re ready for a moving scene right after you build the loop—next up we’ll break down exactly how to master that render loop for smooth motion—

Apple iPad 11-inch: A16 chip, 11-inch Model, Liquid Retina Display, 128GB, Wi-Fi 6, 12MP Front/12MP Back Camera, Touch ID, All-Day Battery Life — Blue
$393.59 (as of July 20, 2026 03:55 GMT +00:00 - More infoProduct prices and availability are accurate as of the date/time indicated and are subject to change. Any price and availability information displayed on [relevant Amazon Site(s), as applicable] at the time of purchase will apply to the purchase of this product.)Mastering the render loop for smooth motion
The core of any animation in Three.js is the render loop. Without it, your scene will just sit there, frozen like a still frame in a movie. The trick is to create a function that updates the scene—positions, rotations, physics—and then immediately tells the renderer to draw that updated scene. But you don’t call this function on a timer; you call it recursively with requestAnimationFrame, which optimizes render timing with the browser and hardware.
Here’s a clean, minimal render loop that rotates the cube and redraws everything every frame:
function animate() {
  requestAnimationFrame(animate);

  cube.rotation.x += 0.01;
  cube.rotation.y += 0.01;

  renderer.render(scene, camera);
}

animate();
Notice how animate calls requestAnimationFrame with itself as an argument? This creates a loop that runs as fast as the screen refresh rate (usually 60 frames per second). If you used setTimeout instead, you’d risk mismatched frame draws, stutters, or wasted CPU cycles.
Using requestAnimationFrame also has the bonus that the browser can pause the animation when the tab isn’t visible, saving resources without extra code.
Sometimes, simple incremental rotations are enough. But what if you want more control, like smooth motion based on elapsed time or frame-independent animation speed? For that, pass a timestamp parameter and calculate deltas:
let previousTime = 0;

function animate(time = 0) {
  const deltaTime = (time - previousTime) / 1000; // convert ms to seconds
  previousTime = time;

  cube.rotation.x += deltaTime * Math.PI; // rotate 180 degrees per second
  cube.rotation.y += deltaTime * Math.PI;

  renderer.render(scene, camera);

  requestAnimationFrame(animate);
}

animate();
This method ensures your animation speed stays consistent regardless of frame rate fluctuations—your cube will spin at the same speed on a slow laptop or a blazing desktop.
Another important thing to note is that modifying object transformations (like rotation, position, scale) should happen before rendering each frame. This keeps the scene’s state in sync with what’s being drawn and prevents visual glitches.
When your app grows and you have multiple objects or interactive controls, keep the render loop clean by separating concerns:
function update(deltaTime) {
  // update animations or physics here
  cube.rotation.x += deltaTime * Math.PI;
  cube.rotation.y += deltaTime * Math.PI;
}

function animate(time = 0) {
  const deltaTime = (time - previousTime) / 1000;
  previousTime = time;

  update(deltaTime);

  renderer.render(scene, camera);

  requestAnimationFrame(animate);
}

animate();
This setup also makes it easy to extend your scene logic without cluttering the core animation cycle. Modular, maintainable, and scalable approaches are essential once your project moves beyond a spinning cube.